Embroidery is a simple and creative way to personalise home textiles, bed linen, clothing and other fabrics with motifs, lettering or drawings. It is also a lovely way to customise and identify an item by adding a name. But how do you embroider a name, and which stitch works best? In this guide, we take you through the main techniques to know.
How do you embroider a name?
Embroidering a name is particularly easy if you already know how to stitch letters onto fabric or knitwear. Depending on the material and the finish you want, you can embroider by hand or use a suitable sewing or embroidery machine.
Embroidering a name with a sewing machine
You can also use a sewing machine to add a name to fabric. Machines with suitable decorative stitches, or free-motion sewing techniques, can help you personalise clothing, home textiles and fabric accessories. Start by drawing the name onto the fabric with a washable fabric marker, then carefully follow the lines. Depending on the material, embroidery stabiliser can also help keep the fabric flat and stable.
Embroidering a name by hand
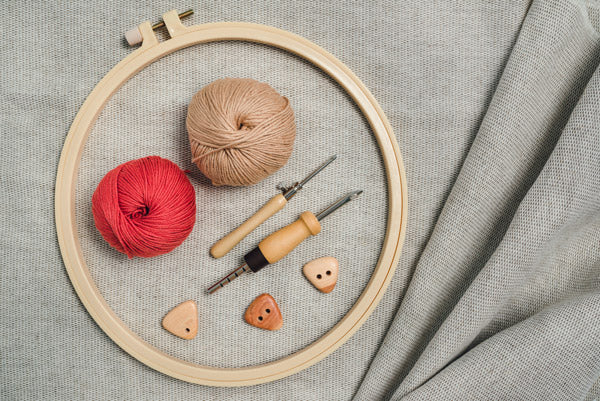
Embroidery is a traditional craft that uses needle and thread to create decorative motifs and lettering on fabric. To embroider a name by hand, you mainly need embroidery thread, a suitable needle, fabric, optionally an embroidery hoop, and the right stitch.
Which stitch is best for embroidering a name?
Names are often embroidered onto baby and children’s clothing, accessories, gifts and home textiles. Several stitches can work well depending on the style you want to achieve. So which embroidery stitch should you choose for a name?
Embroidering a name with backstitch
Backstitch is one of the easiest and most popular stitches for embroidering a name. It creates neat, well-defined lines, making it particularly suitable for letters and fine lettering.
You can use divisible embroidery floss and work with one or several strands depending on the thickness you want. The more strands you use, the thicker and bolder the embroidered letters will appear.
With backstitch, each new stitch begins slightly ahead of the previous one and then returns to meet the end of the last stitch. This creates an almost continuous line. For an even result, try to keep the stitches similar in length.
- Bring the needle up through the fabric at your starting point;
- insert it a short distance behind the starting point;
- bring the needle back up slightly further along the line;
- insert it back down at the end of the previous stitch;
- repeat these steps along the outline of the letters.
Embroidering a name with stem stitch
Stem stitch works particularly well for curved letters and flowing handwriting-style designs. You can use one or several strands of embroidery floss depending on the effect you want. More strands will create a thicker and more raised line.
Stem stitch is made from slightly overlapping stitches that form a smooth, twisted line. This makes it especially attractive for cursive lettering and rounded letter shapes.
To work stem stitch, you can follow these steps:
- Bring the needle up through the fabric at the starting point;
- insert it a few millimetres further along the line;
- bring the needle back up roughly halfway along the previous stitch;
- keep the working thread on the same side of the stitched line throughout;
- continue evenly along the shape of the letters.
For tight curves, shorter stitches generally give you better control. For small lettering, you can also use fewer strands so that the letters remain fine and easy to read.
If you want to avoid visible knots, you can secure the beginning and end of the thread on the back of the fabric by weaving it underneath several existing stitches.
Using French knots for dots and small details
French knots work particularly well for dots above letters and small decorative details. They add texture and a subtle raised effect to embroidered lettering.
To make a simple French knot:
- Bring the needle up through the fabric where you want the knot;
- wrap the thread around the needle once or twice;
- keep the thread gently tensioned;
- insert the needle back into the fabric very close to where it came out;
- pull the thread through carefully to form a small knot.
For a larger knot, it is generally better to use a slightly thicker thread rather than wrapping the thread around the needle too many times. You can also experiment with different colours or decorative threads for extra detail.
Good to know: Small dots can also be created with a short straight stitch.
How do you embroider a name on knitwear?
Two techniques work particularly well for embroidering a name on knitted fabric:
- Duplicate stitch: this technique follows the shape of the existing knitted stitches. It works especially well on stocking stitch. Before starting, carefully plan the position and width of the lettering.
- Backstitch: this gives you more freedom to form letters and lets you create a name without following the exact shape of the knitted stitches.
Embroidering a name with zigzag stitch on a sewing machine
A close zigzag stitch can also be used to create names on clothing, baby accessories, towels or home textiles. You will need a suitable sewing machine, and depending on the fabric, some stabiliser may help prevent the material from puckering while you sew.
Embroidering a name with a sewing machine: what you need
For a name worked with a close zigzag stitch, the following materials can be useful:
- the fabric or item you want to embroider;
- a washable fabric marker;
- suitable embroidery stabiliser or another fabric support;
- sewing or embroidery thread;
- a needle suitable for your fabric.
Embroidering a name with a sewing machine: step by step
Depending on your machine and fabric, you can follow these steps:
- Choose the name you want to embroider;
- transfer the lettering onto the fabric with a washable fabric marker;
- stabilise the back of the fabric if necessary;
- test the stitch width and length on a scrap piece of the same fabric;
- select a close zigzag stitch;
- slowly follow the marked lines;
- turn the fabric carefully around curves;
- for sharper changes in direction, leave the needle down, lift the presser foot if necessary and gently reposition the fabric.
Good to know: Stitch width and length should always be adapted to the fabric, thread and thickness of the lettering you want. Testing your settings on a scrap piece of the same material first is the safest approach.
You now know which stitches work well for embroidering a name and how to use them. Backstitch and stem stitch are particularly beginner-friendly, while duplicate stitch, French knots and machine embroidery give you even more creative options. It is a lovely way to personalise clothing, gifts and accessories with something made by hand.