
Every knitter has been there. You are working on your first scarf or a cosy winter hat, concentrating on your stitches, when suddenly one slips off the needle and starts unravelling down several rows. It can be unsettling, especially when you are just learning. The good news is that a dropped stitch is usually very easy to fix. In this guide, we explain step by step how to pick up a dropped stitch calmly and with the right technique.
Identify the problem: a dropped stitch
First, take a close look at what has happened. When a stitch drops from the needle, the loop may start unravelling through the rows below. This creates a vertical column of loose horizontal strands, often referred to as a “ladder”.
The stitch is not lost, however. As long as the yarn has not broken, you can usually work it back up without leaving an obvious trace. Most importantly, you do not need to start your entire knitting project again.
What do you need to fix a dropped stitch?
You do not need any specialist equipment to pick up a dropped stitch. A few simple tools are enough:
-
A knitting needle.
-
A crochet hook – optional, but particularly useful.
-
Good lighting and a little patience.
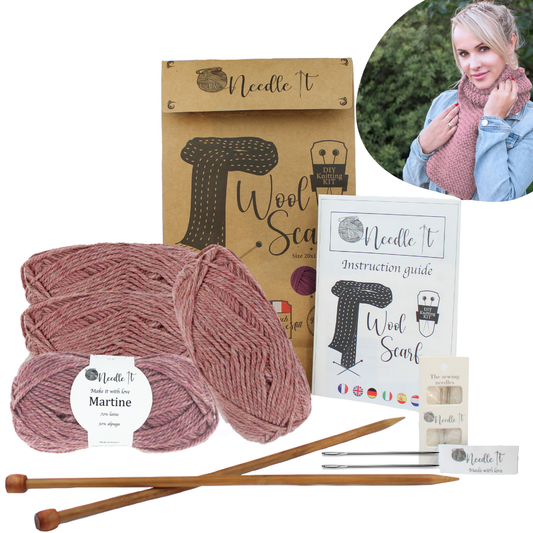
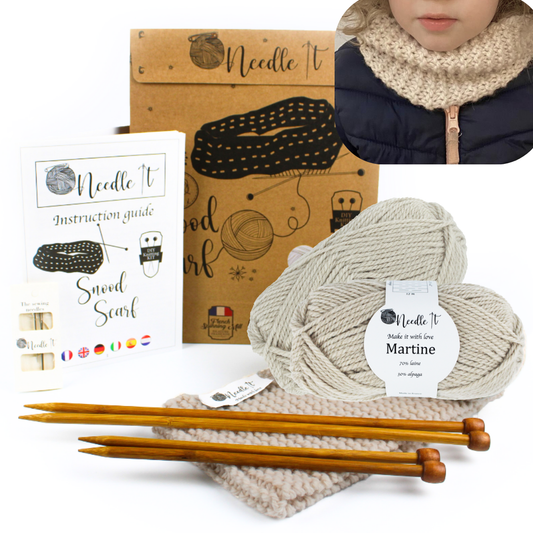
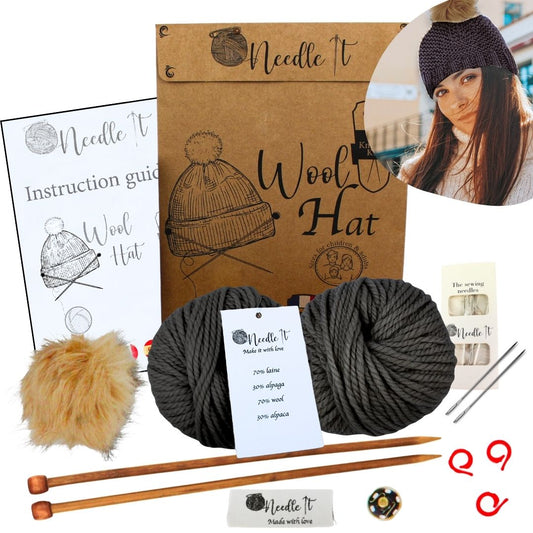
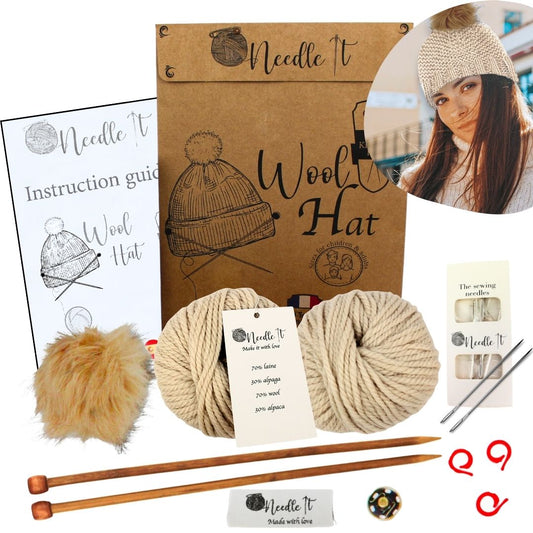
If you are a beginner and are still learning how to manage your tension, dropping a stitch is completely normal. Simple beginner projects are a great way to practise these essential techniques. At Needle-it, our scarf knitting kit and hat knitting kit are designed to help you become more comfortable with the basics.
Tutorial: how to pick up a dropped stitch
Here is a simple method for fixing a dropped stitch step by step:
Step 1: Find the dropped stitch
Look for the loose loop that has slipped away from the needle. It is usually found at the bottom of the ladder and may look slightly larger than the surrounding stitches.
Step 2: Secure the stitch
Secure the loop as soon as possible with a crochet hook, knitting needle or stitch marker so that it cannot unravel any further.
Step 3: Identify the ladder strands
Each horizontal strand above the dropped loop represents a row that has unravelled. You will use these strands one by one to rebuild the missing stitches.
Step 4: Work the stitch back up
The easiest way is usually with a crochet hook. Insert the hook through the dropped loop, catch the lowest horizontal strand and pull it through the loop. Repeat with each strand from bottom to top until you reach the current row.
Needle-it tip: On stocking stitch, make sure each reconstructed stitch has the same orientation as the stitches around it. If you are repairing a purl stitch, the loop needs to be rebuilt from the opposite side so that the purl bump appears correctly on the front.
Step 5: Put the stitch back on the needle
Once you have worked the stitch back up to the current row, place it onto the correct knitting needle. Check that it is not twisted, then continue knitting as normal.
Knit stitch or purl stitch? The detail that matters
The way you pick up a dropped stitch depends on the stitch pattern you were working:
-
For a knit stitch, pull the horizontal strand through the loop so that the familiar V shape appears on the right side.
-
For a purl stitch, reconstruct the stitch from the opposite direction so that the small horizontal purl bump appears on the right side.
If the stitch does not look right on your first attempt, simply undo it gently and try again. If you would like to strengthen your basic skills, our guide on how to cast on knitting stitches can also help.
What if the stitch dropped several rows ago?
Sometimes you only notice a dropped stitch after knitting several more rows. The method is still the same: simply work each horizontal strand through the loop one at a time until you reach the current row.
If you are not yet confident, practise the technique on a small swatch first. You can also explore these 5 easy knitting projects for beginners to build your skills.
3 tips to help prevent dropped stitches
Now that you know how to fix a dropped stitch, here are a few simple ways to reduce the chances of it happening too often:
-
Keep your tension even: very loose stitches can slip off the needle more easily, while overly tight stitches make knitting unnecessarily difficult.
-
Use suitable knitting needles: the needle material and tip shape should work well with your yarn and your personal knitting style.
-
Take regular breaks: tiredness can make small mistakes more likely, so do not hesitate to put your knitting down for a little while.
Looking for more beginner-friendly tips? Read our guide to 10 tips to improve your knitting and become more confident with your technique.
Needle-it: helping you knit with confidence
A dropped stitch is not a reason to restart your entire project. Small mistakes are simply part of learning. Once you know how to spot and repair a dropped stitch, you will quickly become more independent and confident in your knitting.
At Needle-it, we know that every knitting project comes with creative moments, new techniques and the occasional little challenge. That is why our beginner knitting kits include step-by-step guidance designed to help you learn the basics and handle common mistakes such as dropped stitches.