
Moss stitch is one of the most popular knitting stitches, especially because it is so easy to learn. It quickly adds texture, depth and a beautiful finish to a knitted project. This makes it suitable for beginners and more experienced knitters alike, whatever you are planning to make. In this article, we explain how to knit moss stitch, its different variations, how it compares with other knitting stitches and how to start using it in your very first projects.
What exactly is moss stitch?
Moss stitch is a textured knitting pattern created by alternating knit and purl stitches across a row, then working the opposite stitch above each one on the following row. This creates the characteristic textured, grain-like appearance that gives knitted fabric a beautifully handmade finish. Moss stitch also lies relatively flat at the edges, unlike some other patterns such as stocking stitch. Another advantage is that moss stitch looks attractive on both sides, making it ideal for scarves, hats, blankets and even jumpers where both sides of the fabric may be visible.
How do you knit moss stitch?
As mentioned above, moss stitch is suitable for knitters of all levels. The basic principle is to alternate knit and purl stitches across the same row, then reverse them on the following row. Here is how to do it:
What you need:
-
A pair of knitting needles
-
A ball of yarn in a suitable weight
-
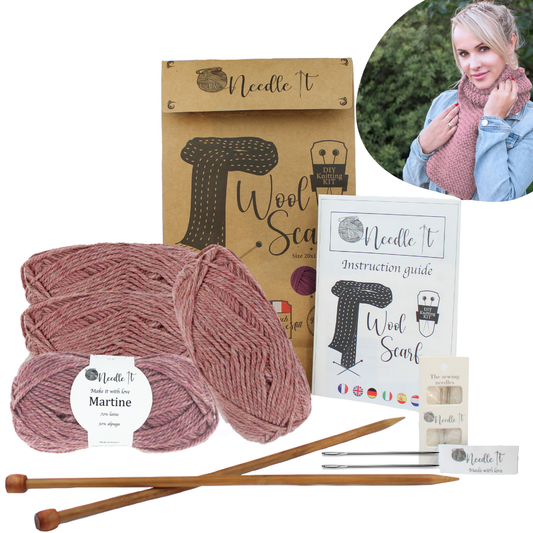
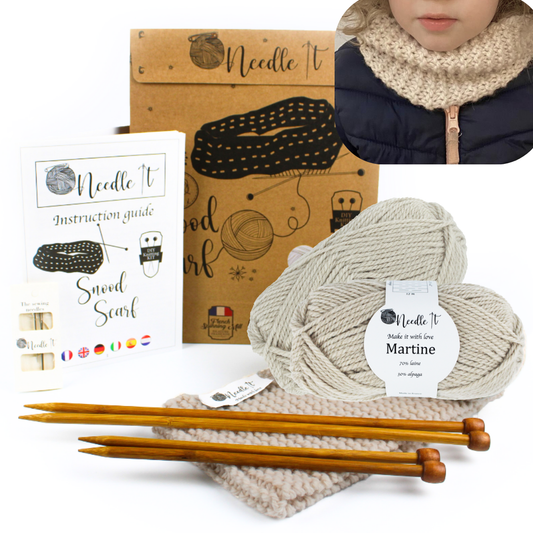
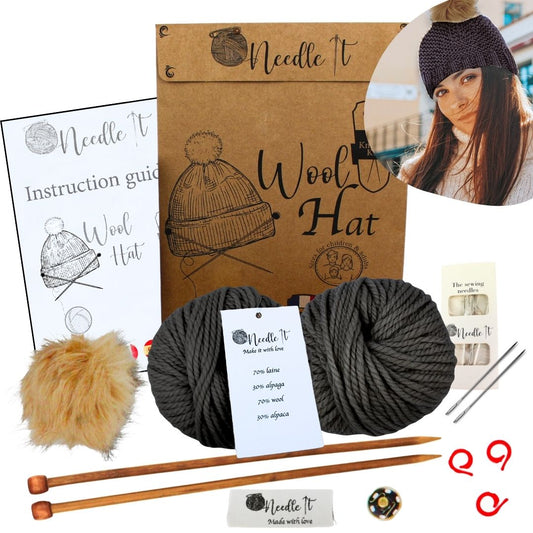
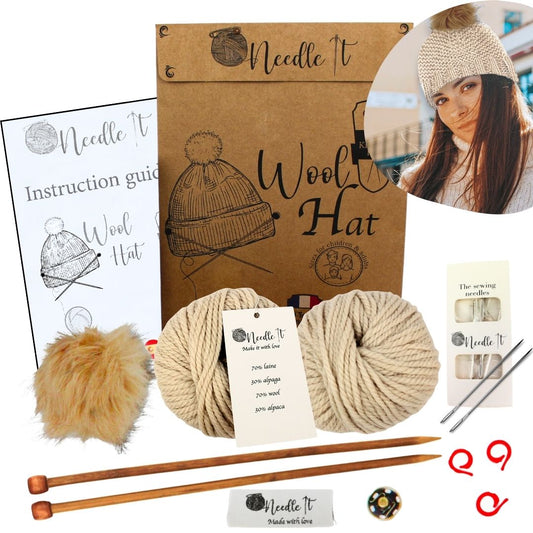
Optional: a Needle-it beginner knitting kit, such as our hat knitting kit or our scarf knitting kit.
Moss stitch instructions:
-
Cast on an odd number of stitches, for example 21 stitches. This makes the alternating sequence particularly easy when knitting flat.
-
Row 1: Alternate 1 knit stitch and 1 purl stitch across the entire row.
-
Row 2 and all following rows: Work the opposite of the stitch you see. If the next stitch appears as a knit stitch, purl it. If it appears as a purl stitch, knit it.
In other words, always work the opposite stitch to the one facing you on the needle.
A simple visual tip for beginners
-
A knit stitch looks like a small “V”.
-
A purl stitch looks like a small horizontal bump.
Once you can recognise these two stitches, simply work the opposite one each time to keep your moss stitch pattern neat and even.
How do you knit double moss stitch?
Double moss stitch is a variation of classic moss stitch that creates a larger, more structured texture. Terminology can vary between knitting traditions, but one common version repeats pairs of knit and purl stitches for two rows before reversing them.
To knit this version of double moss stitch:
-
Cast on a multiple of 4 stitches.
-
Rows 1 and 2: Alternate 2 knit stitches and 2 purl stitches across the row.
-
Rows 3 and 4: Alternate 2 purl stitches and 2 knit stitches.
This creates a broader, slightly more squared texture that works particularly well for blankets, jumpers and cushion covers.
What is moss stitch used for?
Moss stitch is a very versatile knitting stitch. It adds texture and structure while helping the fabric lie relatively flat. Here are a few projects that work especially well with moss stitch:
-
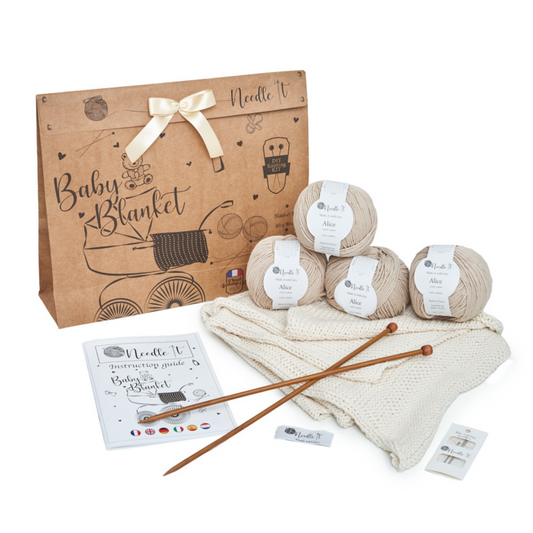
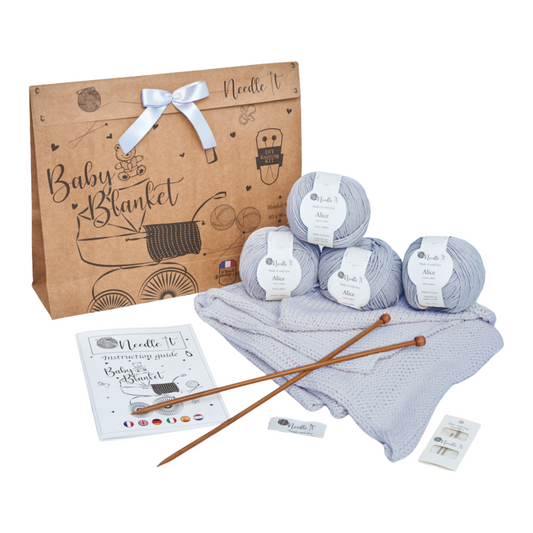
A baby blanket: The textured pattern looks attractive on both sides and works beautifully for blankets. At Needle-it, you can also explore our ideas for knitted baby blankets.
-
A hat: Another approachable project for practising essential knitting techniques. You can also use our hat knitting kit to build your skills step by step.
-
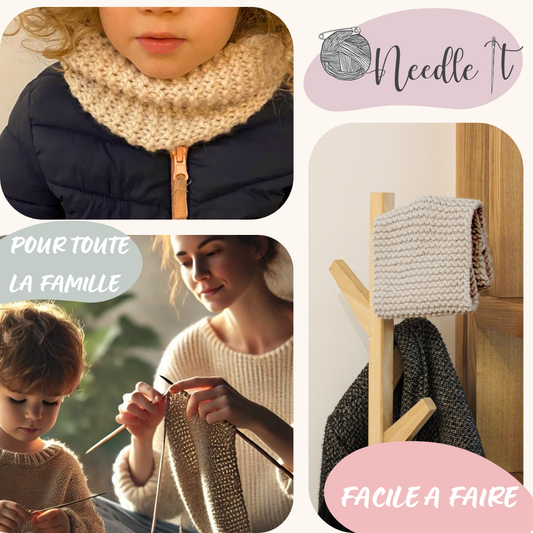
A snood or cowl: Moss stitch creates an attractive textured finish and does not curl like stocking stitch.
-
A cardigan or textured jumper: Use it as a border or work the entire piece in moss stitch.
Moss stitch vs stocking stitch: what is the difference?
Moss stitch and stocking stitch are both common knitting patterns and are often encountered by beginners. However, they behave and look very different. Understanding these differences will help you choose the best stitch for each project.
Stocking stitch: smooth but prone to curling
Stocking stitch is probably one of the best-known knitting patterns. When knitting flat, it is created by alternating a row of knit stitches with a row of purl stitches. This produces a smooth, even surface on the right side, with the familiar V-shaped stitches.
Its clean appearance makes stocking stitch particularly popular for jumpers and other garments. However, it naturally tends to curl at the edges. For this reason, it is often combined with ribbing, garter stitch or another non-curling border.
Moss stitch: textured, stable and attractive on both sides
Moss stitch lies much flatter. The constant alternation between knit and purl stitches creates its characteristic textured surface and helps prevent the edges from curling.
Another advantage is that moss stitch looks attractive on both sides. Unlike stocking stitch, which has clearly different right and wrong sides, moss stitch is ideal for projects that may be seen from both directions, such as snoods, scarves and blankets.
Why not combine moss stitch and stocking stitch?
Combining moss stitch and stocking stitch in the same project allows you to play with contrasting textures while also helping to stabilise the knitted fabric. For example, a stocking stitch centre surrounded by moss stitch borders can help reduce curling while adding an attractive textured finish. It is a simple way to make your first knitting projects feel more detailed and creative.