
Want to add more texture, volume and personality to your knitting projects? Loop stitch is a lovely technique to try. This decorative knitting stitch creates small loops on the surface of the fabric, giving your project a playful, textured finish. Although many beginners are unfamiliar with it, loop stitch is quite accessible once you understand the movement. In this guide, we explain how to knit loop stitch step by step and share a few practical tips to help you add more character to your projects.
What is loop stitch in knitting?
The loop stitch is a textured knitting technique that creates small loops on the right side of your work. Depending on the yarn and the density of the loops, it can create a fluffy, fringed or fur-like effect. It works particularly well for cushions, bags, soft toys, scarves and other accessories.
For each loop stitch, the working yarn is wrapped around a finger or a small object to create the loop before it is secured into the stitch. The technique can feel a little fiddly at first, but once you become familiar with the movement, it is easy to repeat.
What do you need to knit loop stitch?
Loop stitch may look slightly more advanced than a basic knit or purl stitch, but it is still suitable for adventurous beginners. For your first attempts, you will need:
-
A pair of knitting needles – straight or circular, depending on your project.
-
A medium or chunky yarn that makes the loops easy to see.
-
Your finger or a small cylindrical object to help you create even loops.
-
A little patience and curiosity.
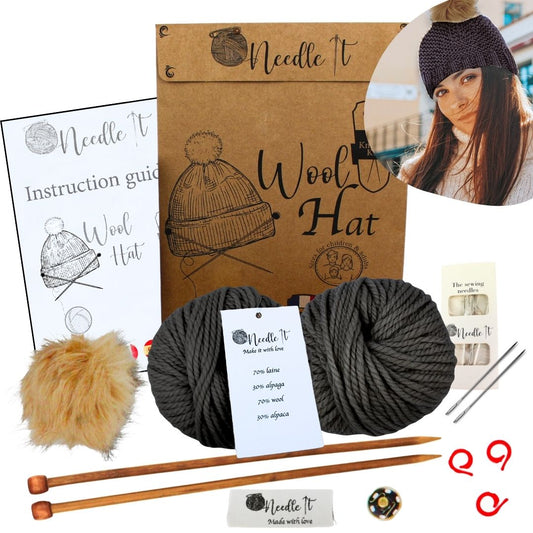
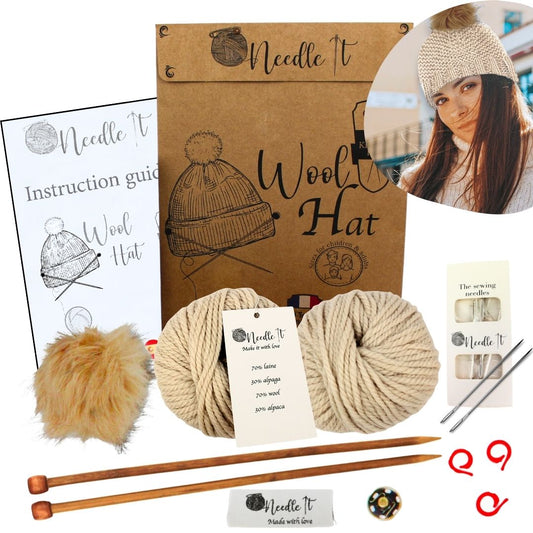
Looking for a simple project to practise on? Our hat knitting kit can be a good starting point for building confidence with new knitting techniques.
Tutorial: how to knit loop stitch step by step
There are several ways to knit loop stitch. The method below is one of the common versions and creates loops on the right side of the fabric. You can combine it with simple backgrounds such as stocking stitch or other basic knitting patterns.
1. Knit up to the stitch where you want to create a loop
Start the row as normal and knit until you reach the stitch where you want the first loop to appear.
2. Form the loop
When you reach the stitch:
-
Knit the stitch, but leave it on the left-hand needle.
-
Bring the working yarn to the front and wrap it around your left thumb or finger to form a loop.
-
Take the working yarn back between the needles and knit into the same stitch again. You can now let the original stitch slide off the left-hand needle.
-
You now have two stitches on the right-hand needle. Lift the first stitch over the second and off the needle, in a similar way to casting off. This secures the loop without increasing your stitch count.
3. Adjust the loop
Gently adjust the finished loop so that it sits clearly on the right side of the fabric. Try to position your finger in roughly the same place each time if you want the loops to remain an even size.
4. Repeat
Continue making loop stitches across the row, or space them out with ordinary stitches between them depending on the effect you want to create.
For a dense, fluffy texture, you can add rows of loop stitches regularly throughout the project. For a more subtle effect, leave several ordinary rows between each loop-stitch row. It is a good idea to test the spacing on a small swatch first.
Tips for neat and even loop stitches
Loop stitch takes a little practice at first. These tips can make it easier:
-
Choose a medium or chunky yarn that allows you to see each loop clearly.
-
Try to keep your loops the same size if you want an even finish.
-
Avoid knitting too tightly. A comfortable tension makes the loops easier to form.
-
For extra consistency, you can use a small wooden dowel or an extra knitting needle as a guide for the loop size.
-
Practise first on a swatch so you can find the right loop length and tension.
Most importantly, have fun experimenting. Loop stitch is a simple way to give an otherwise classic knitting project a much more playful finish.
What can you knit with loop stitch?
You do not have to use loop stitch across an entire garment. It works particularly well as a decorative feature or on smaller accessories. Here are a few ideas:
-
A soft textured pouch.
-
A textured baby blanket with decorative loop sections.
-
A cosy cowl with occasional rows of loops.
-
A knitted soft toy with a fluffy, fur-like texture.
-
Fingerless gloves with a loop-stitch cuff.
-
A cushion cover with a textured loop-stitch front.
Loop stitch: a creative way to personalise your knitting
If you want to add more texture and personality to your knitting, loop stitch is a fun technique to learn. Even a single row or a small section of loops can completely change the look of a simple project.
Whether you enjoy discovering new knitting stitches or simply want to experiment with unusual textures, try loop stitch on your next project. If you are a beginner, a medium or chunky yarn that is easy to control is usually the best option for your first attempts.