
Knitting is more than just a creative hobby. It is a rewarding activity that allows you to make your own clothes, accessories and home textiles while learning new techniques step by step. For beginners, garter stitch is one of the most important basics to master. It is easy to learn, simple to knit and suitable for many different projects. It can also be combined with other knitting stitches to create borders, edgings or button bands. Here is how to knit garter stitch and get comfortable with this beginner-friendly pattern.
What is garter stitch in knitting?
Garter stitch is one of the simplest basic knitting patterns. Because it is easy to repeat, garter stitch is often one of the first techniques beginners learn.
Characteristics of garter stitch
Garter stitch creates a stretchy, relatively dense knitted fabric. Compared with stocking stitch, it usually requires more rows to reach the same height with the same number of stitches. Depending on the project, this can also affect how much yarn you need.
Garter stitch creates characteristic horizontal ridges on both sides of the fabric. Viewed from the side, the knitted piece has a slightly accordion-like appearance. How much it changes after washing depends mainly on the yarn, gauge and care instructions.
In knitting, a stitch pattern such as garter stitch describes the way individual stitches are worked across several rows.
How is garter stitch made?
When knitting flat, garter stitch is made by knitting every row. Every two knitted rows create one visible garter ridge.
A similar texture can also be created by purling every row when knitting flat. For beginners, however, the easiest way to make garter stitch is simply to knit every row.
Now let’s look at how to knit garter stitch step by step.
How do you knit garter stitch?
Garter stitch is very straightforward. You simply repeat knit stitches row after row. Start by casting on the number of stitches required for your project, then knit every row.
How to knit your first stitch
Once you have cast on your stitches, you can make your first knit stitch by following these steps:
- Take your two knitting needles and your chosen yarn;
- hold the needle carrying the cast-on stitches in your left hand, with the working yarn behind the work;
- insert the right-hand needle into the front of the first stitch from left to right;
- wrap the working yarn around the right-hand needle;
- use the right-hand needle to pull the new loop through the stitch;
- slide the original stitch off the left-hand needle;
- the new knit stitch is now on the right-hand needle.
Knitting the rest of the row
Once you have knitted the first stitch, repeat the same movement for all the remaining stitches:
- Knit every stitch across the row;
- slide each completed stitch off the left-hand needle;
- continue until all the stitches are on the right-hand needle;
- turn your work;
- hold the needle carrying the stitches in your left hand again;
- knit the entire next row and continue repeating these steps.
Good to know: in garter stitch, one visible ridge usually represents two knitted rows. So when counting rows, remember not to count only the visible ridges.
How to knit garter stitch successfully: tips for beginners
To knit garter stitch confidently, you first need to know how to cast on and make a knit stitch. You can then gradually learn other basic techniques, including purl stitches and different stitch patterns.
Learn garter stitch with a tutorial
If you are learning how to knit, following a garter stitch tutorial can make the process easier. Video and illustrated tutorials allow you to see the movement of the needles and yarn step by step and practise at your own pace.
Practise garter stitch with a swatch
Before starting a larger project, it is a good idea to knit a small practice swatch. This allows you to work several rows of garter stitch while getting used to your yarn, needle size and tension.
Once you feel comfortable with garter stitch, you can start exploring other knitting stitches and techniques.
How do you increase in garter stitch?
There are several ways to increase stitches when working in garter stitch. You can increase from the strand between two stitches, knit into the front and back of one stitch, or use a yarn over. The best method depends on whether you want the increase to be discreet or decorative. A yarn over will normally create a visible eyelet unless it is worked through the back loop on the following row.
How do you work short rows in garter stitch?
Short rows can also be used effectively in garter stitch to add shape to a knitted piece. Instead of knitting all the way to the end of the row, you turn the work early and continue in the opposite direction. Techniques such as wrap and turn or German short rows can help reduce visible gaps at the turning points. The best method will depend on your pattern and project.
How can you keep garter stitch even?
To keep garter stitch as even as possible, try to maintain consistent tension and use a needle size suited to your yarn. Knitting a swatch can help you find the right combination. How the finished fabric behaves after washing will also depend on the yarn and its care instructions. Twisted stitches are not required for standard garter stitch and will change the appearance and elasticity of the fabric.
If you want to see the movements more clearly, garter stitch video tutorials can be a useful addition to written instructions.
When should you use garter stitch?
Garter stitch can be used for many different knitting projects. It works well on its own or combined with other stitch patterns. For beginners, garter stitch is particularly suitable for simple first projects.
Combining garter stitch with other patterns
Garter stitch is often used as a border alongside other knitting patterns because, unlike stocking stitch, it is less likely to curl. It can be useful for:
- borders,
- edgings,
- cuffs,
- and other decorative or practical finishes.
The number of rows you work will depend on the effect you want and the instructions for your particular project.
Using garter stitch as an edging
Garter stitch can also be worked along the sides of a knitted piece. Adding a few garter stitches at each edge can help reduce curling and create a clearly defined border. Depending on the project, it may also make seaming easier later on.
There are several ways to work edge stitches with garter stitch. The best method will depend on how the knitted piece is going to be finished or joined.
Garter stitch for button bands
Garter stitch is also commonly used for button bands on cardigans. On top-down patterns in particular, the bands can often be knitted at the same time as the rest of the garment.
Garter stitch for baby accessories
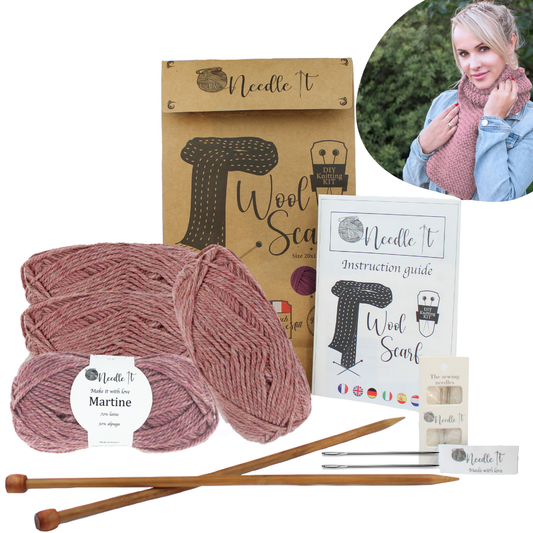
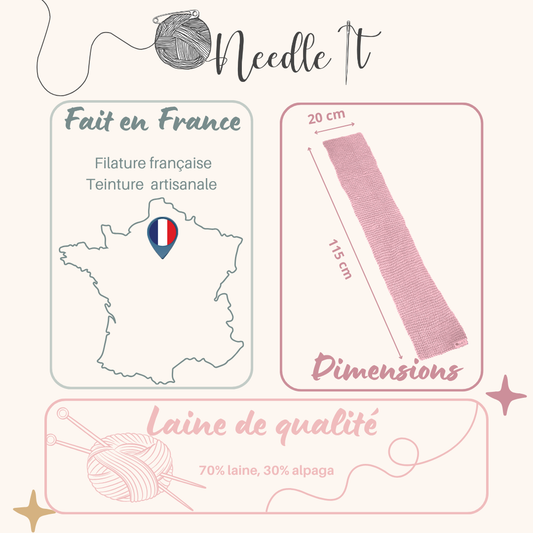
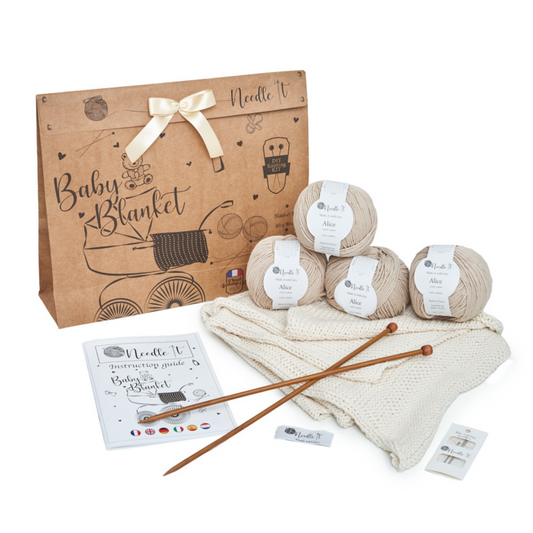
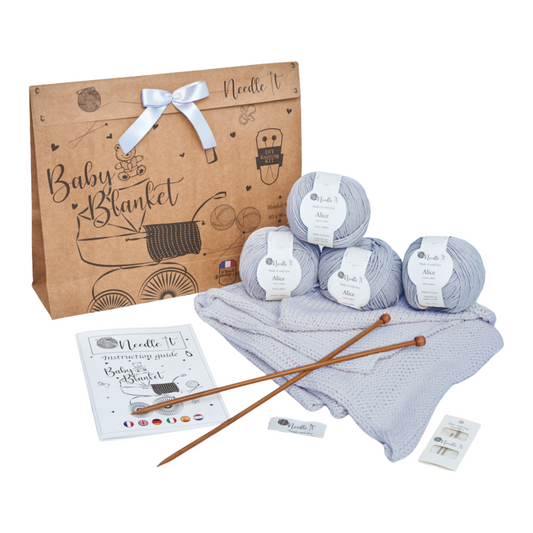
Garter stitch can also be used on its own for small accessories and baby projects. The pattern is simple, lies relatively flat and creates a soft, stretchy fabric depending on the yarn used. It works well for projects such as small blankets, scarves and other beginner-friendly accessories.
Garter stitch and grafting
Garter stitch pieces can also be joined with nearly invisible grafting or seaming techniques. Depending on the project, different methods may be used to recreate the appearance of the knitted ridges across the join. These techniques are more advanced than the basic stitch itself, so an in-depth knitting tutorial can be helpful if you want to try them.
You now know how to knit garter stitch and when to use this simple pattern. Once you feel confident with it, you can gradually explore other knitting stitches and add more variety to your handmade projects.